Chevrolet Corvette C7 free 3D model Assets Download🌲
Chevrolet Corvette C7 free 3D model
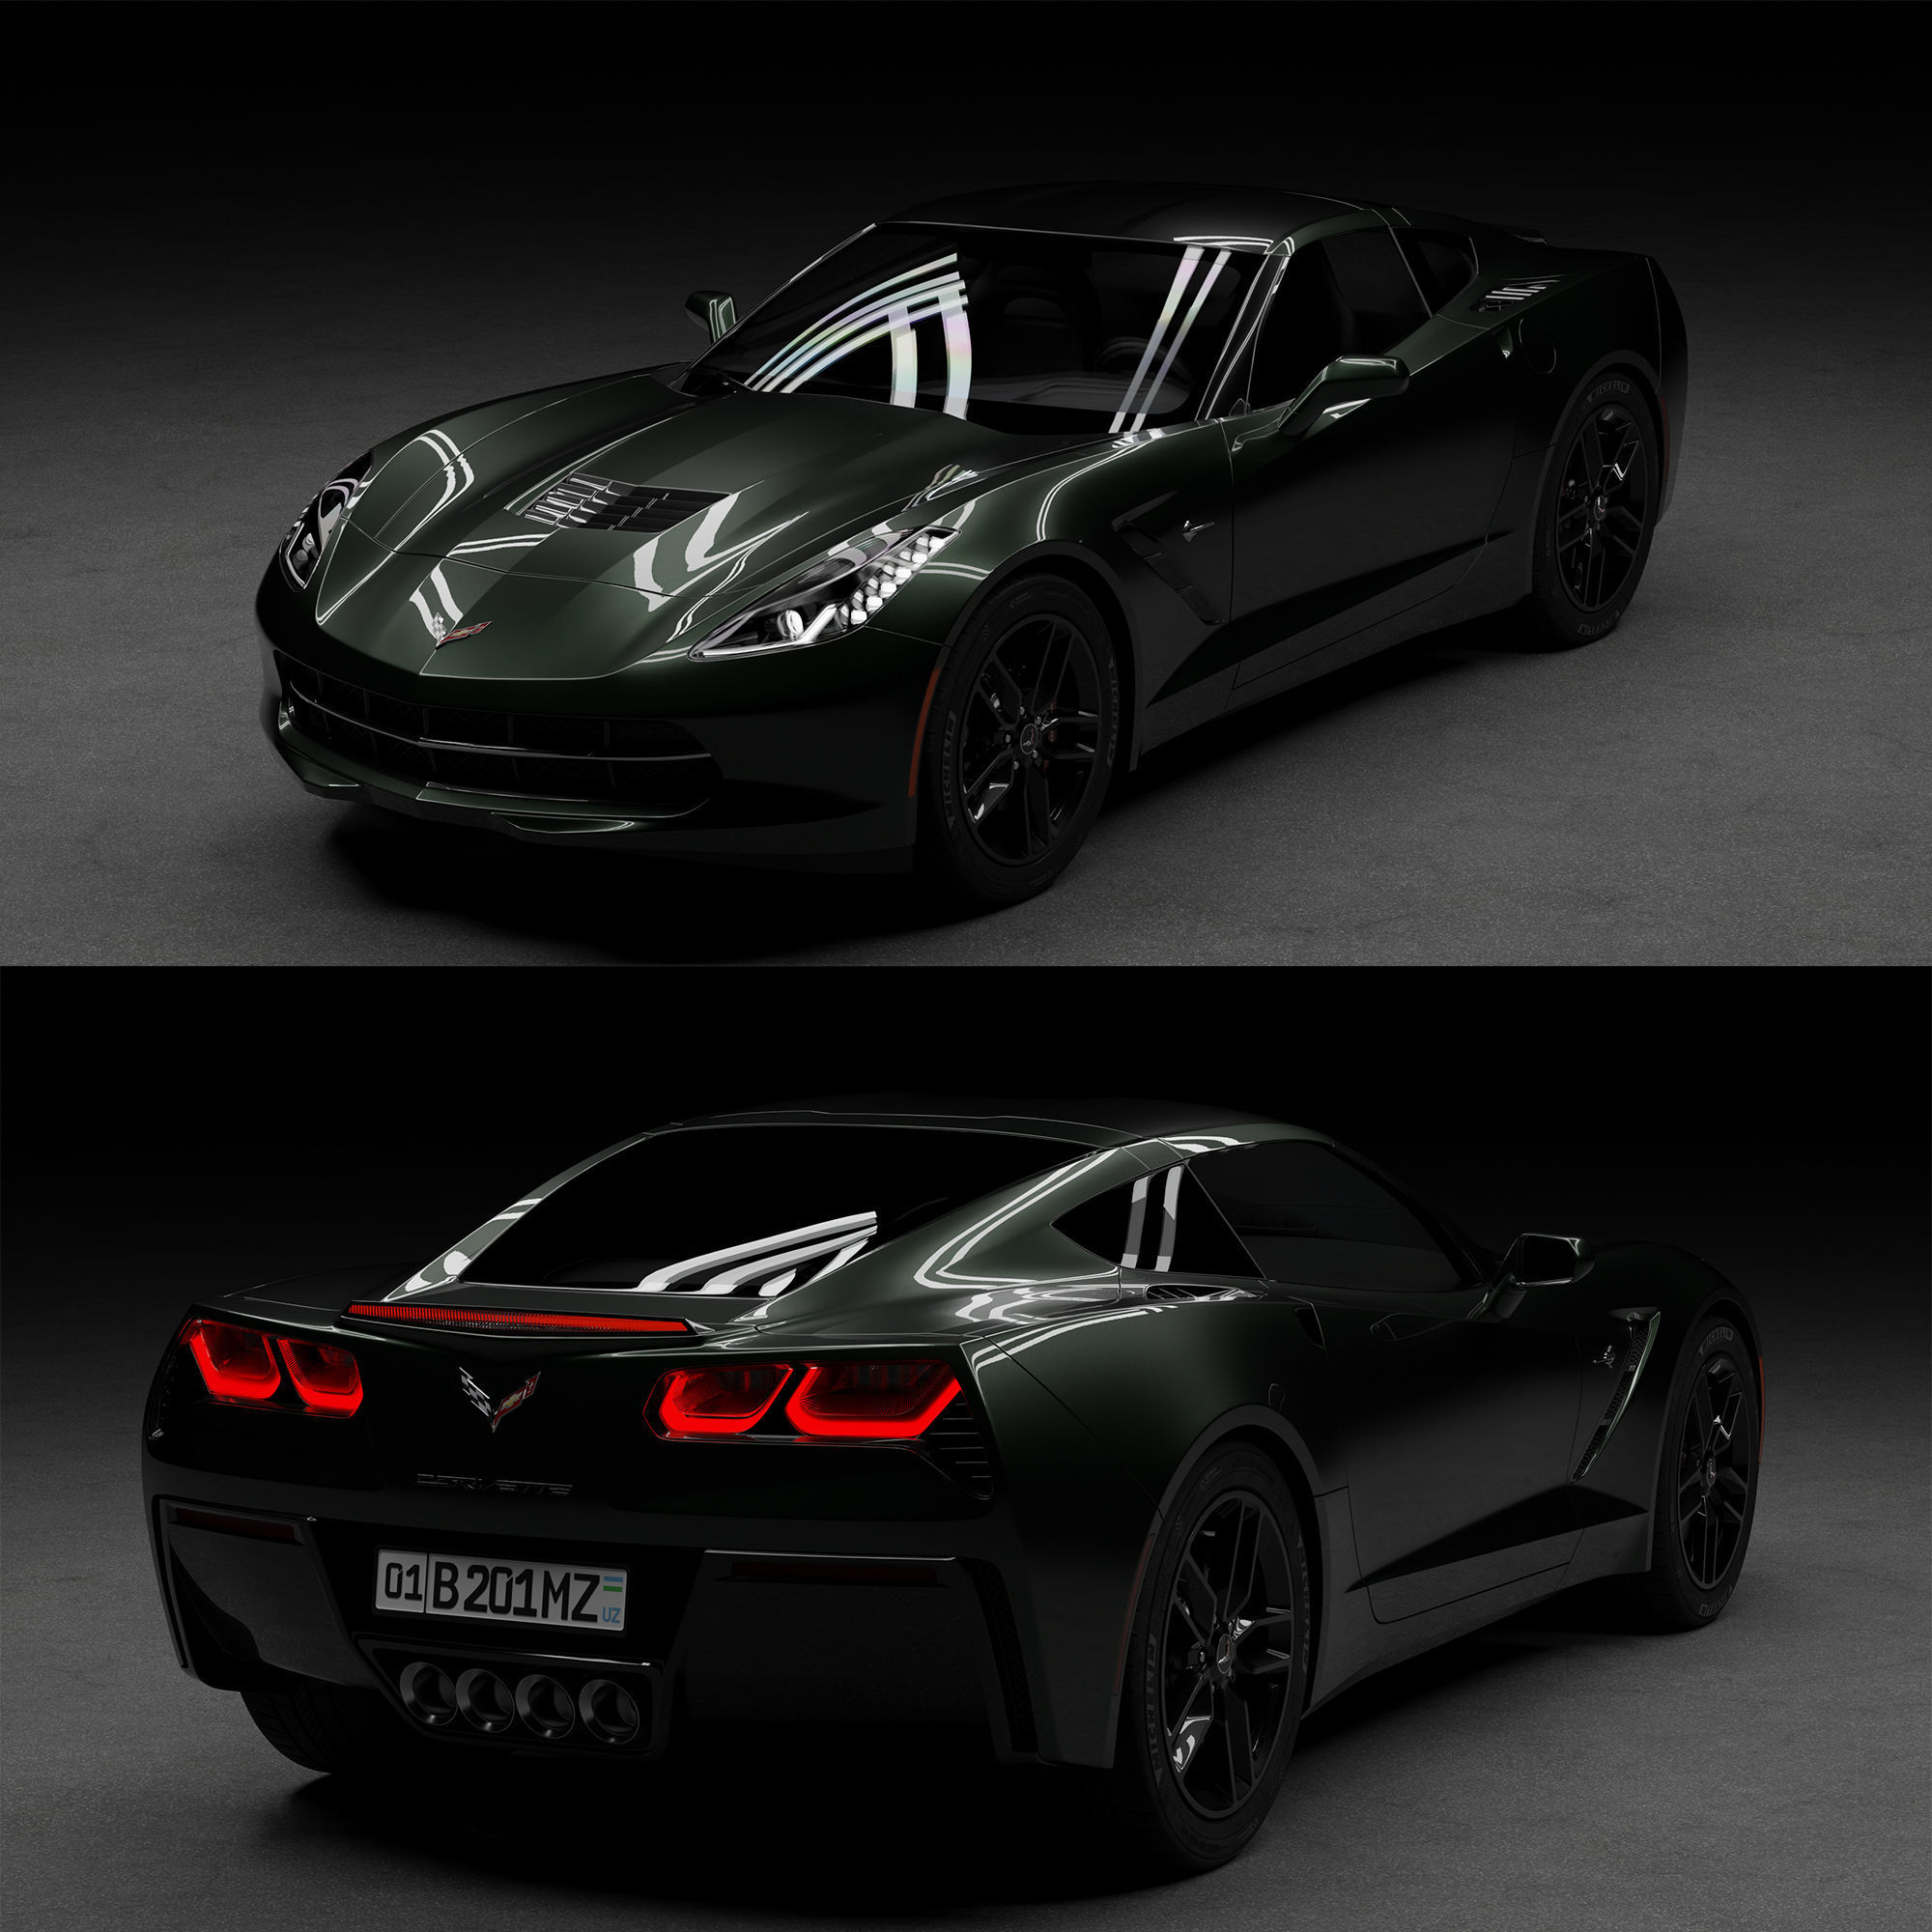
Download Chevrolet Corvette C7 free 3D model for Blender Tutorial
Click and wait for 20 seconds 👇
Create a Glowing Dome Lighting Setup in Blender 🏮✨
Ever wanted to make your product renders or car scenes shine with ultra-realistic lighting in Blender? 🎬 This beginner-friendly guide walks you through setting up a glowing HDRI dome that actually casts beautiful shadows—all using Blender’s Cycles render engine. Ready? Let’s light things up! 💡
🥚 Step 1: Build the Dome
- Open Blender and delete the default cube (Select the cube, press
A, then hitDelete). - Add a UV Sphere: Press
Shift + A→ Mesh → UV Sphere. - Enter Edit Mode with
Tab, then switch to wireframe view (Zor click the wireframe icon). - Select the top half of the sphere.
- Flatten it: Press
S, thenZ, then type0(to squash vertically). - With the top still selected, set the Z location to 0 in the side panel (open with
N). - Select all (
A) and flip normals: PressAlt + N→ Flip Normals (so the inside is visible). - Back in Object Mode, scale up your dome (
S) to make it big. - Apply scale: Press
Ctrl + A→ Scale.
🎨 Step 2: Set Up the Shader & Lighting
- Split your workspace to open the Shader Editor. (Drag corner of your window, choose Shader Editor).
- Delete the default Principled BSDF node.
- Add the following nodes:
- Environment Texture 🌄
- Mix Shader 🔀
- Diffuse Shader 🎨
- Emission Shader 💡
- Connect nodes:
- Plug Diffuse and Emission into the Mix Shader, then to Material Output.
- Link the Environment Texture to Diffuse and Emission Shader inputs.
- Switch render engine to Cycles (Render Properties → Select ‘Cycles’).
- If you have a GPU, set device to GPU for speed!
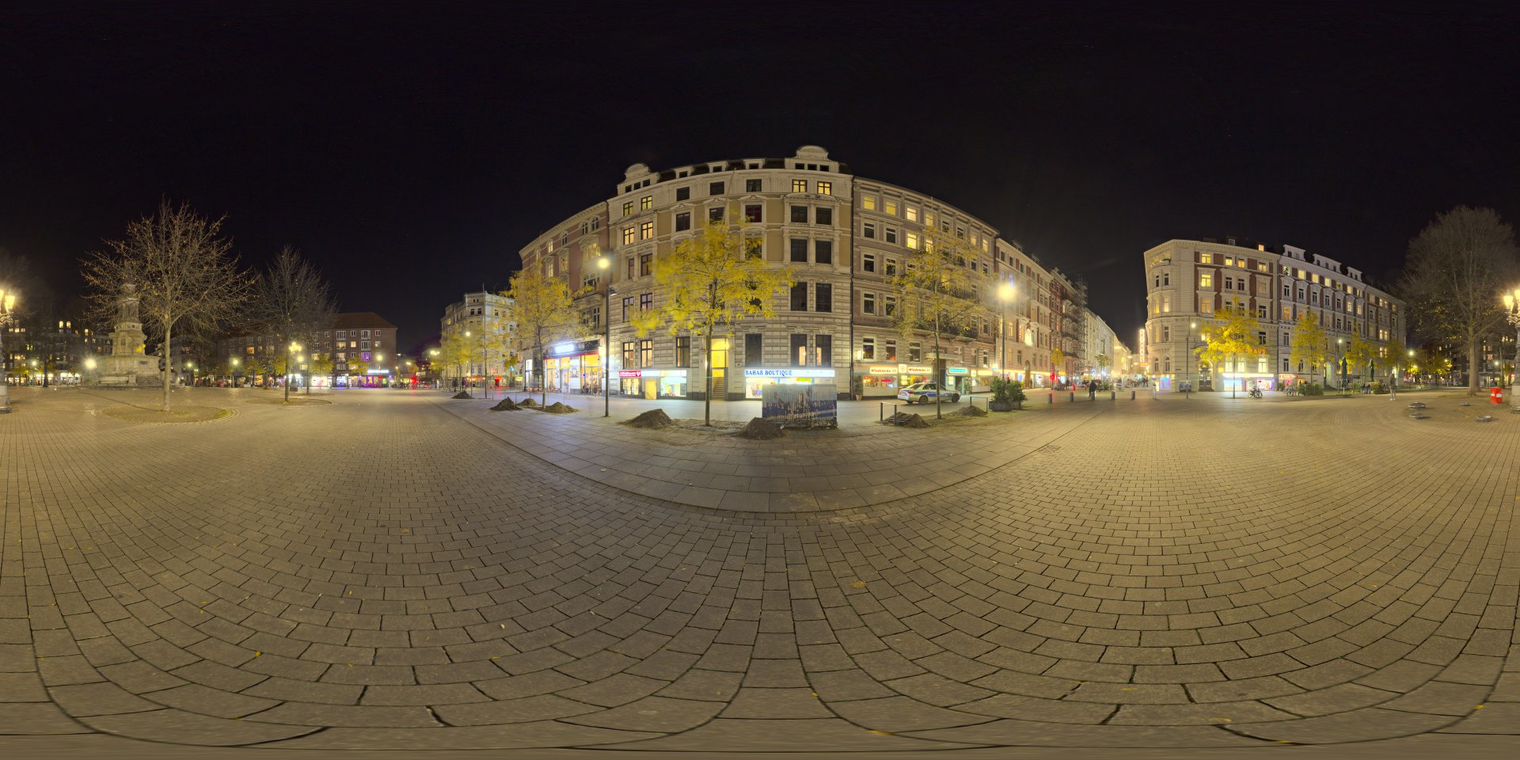
- Open your HDRI image. (Try this free one 🖼️)
- Press
Ctrl + T(Node Wrangler add-on must be enabled!) to add Mapping nodes. - Connect Object Output to Vector Input. Adjust Z rotation to tweak lighting direction.
🕶️ Step 3: Fix the “No Shadow” Problem
- Test the setup: Add a cube and check the shadows. If there are none—not to worry!
- Go into Edit Mode on the dome.
- Select only the bottom faces of the dome.
- Open Material Properties. Click the “+” to add a new material slot. Assign the same material to those faces.
- Go back to Object Mode, click the material slot and make it a separate material.
- In the second material:
- Delete Emission and Mix Shader—keep only Diffuse. (Now, the bottom won’t glow and your scene will cast proper shadows!)
💡 Step 4: Add an Area Light & Final Touches
- Add an Area Light for more realistic illumination.
- Increase its power & scale so it matches your dome.
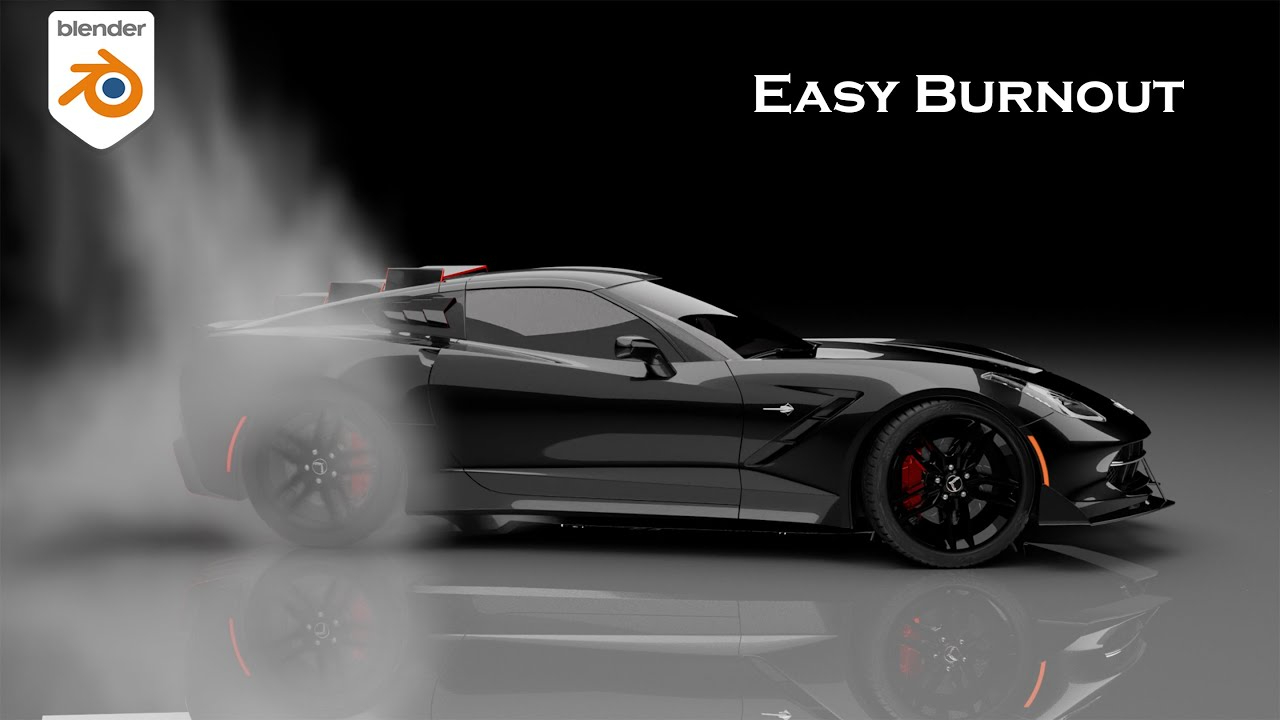
- Place your subject (e.g., a cool car! 🚗).
- Try this free car model
- Adjust camera angle and lighting for best look.
🎉 You’re All Set!
Now you’ve got an eye-catching, glowing dome setup in Blender that’s perfect for showcasing cars, products, or moody scenes—complete with realistic shadows! Snap your renders, share online, and level up your Blender skills. 😎🚀
Tip: Always apply scale after resizing objects for best material results!
Don’t forget to enable the Node Wrangler add-on for easier node setup.
Happy Blending! 🙌
If you liked this tutorial, give a thumbs up and subscribe for more easy Blender tips. 🥳

