Free HDRi Assets Download🌲
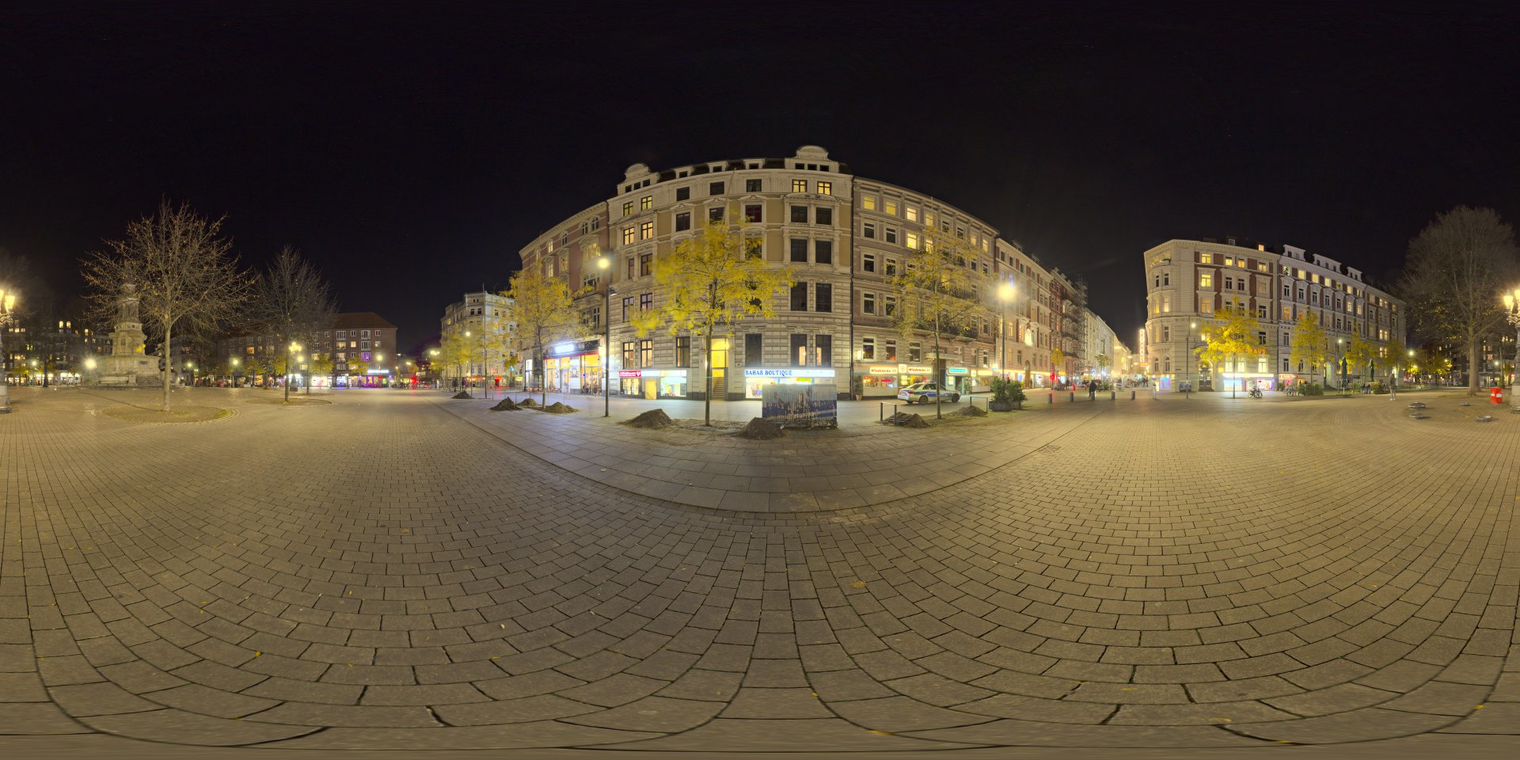
Night HDRI

Download HDRI for Blender Tutorial
Click and wait for 20 seconds 👇
How to Set Up HDRI Lighting in Blender (Beginner Friendly) 🌄✨
Want to give your Blender renders a professional, realistic vibe using HDRI lighting? Let’s walk through the easy process featured in this tutorial so your scenes truly shine—perfect for cars, products, or moody environments! 🚗🔆
🛠️ Step 1: Prepare Your Scene
- Open Blender.
- Delete the default cube
- Press
Ato select all, thenDelete.
- Press
- Add a UV Sphere for the Dome:
- Press
Shift + A→ Mesh → UV Sphere.
- Press
🏗️ Step 2: Make the Dome
- Enter Edit Mode (
Tab). - Switch to wireframe view (
Zor via the viewport icon). - Select the top half of the sphere (box select or manually).
- Flatten the top:
- Press
S, thenZ, then type0.
- Press
- Set Z location to 0 in side panel (press
Nto open). - Select all faces (
A) and flip normals:- Press
Alt + N→ Flip Normals.
- Press
- Go back to Object Mode, scale up the dome (
S), and apply scale (Ctrl + A→ Scale).
🌄 Step 3: Add & Set Up HDRI Texture
- Open the Shader Editor
- Split your window, select Shader Editor.
- Delete the default Principled BSDF node (select it, hit
Delete). - Add the following nodes:
- Environment Texture
- Mix Shader
- Diffuse Shader
- Emission Shader
- Connect nodes:
- Plug Diffuse and Emission into Mix Shader, and Mix Shader to Material Output.
- Connect Environment Texture to both Diffuse and Emission Shader inputs.
🖼️ Step 4: Load Your HDRI
- Switch render engine to Cycles:
- Go to Render Properties → Set to Cycles.
- Open your HDRI texture file:
- In the Environment Texture node, click “Open,” and browse to your HDRI image.
- Need one? Try this free HDRI 🌅
- Press Ctrl + T to add Mapping nodes (Enable Node Wrangler add-on if needed!).
- Connect the Object output to the Vector input.
- Adjust Z rotation to tweak the light direction for your scene.
🔍 Step 5: Test Shadows & Finalise
- Add a Cube and check if your scene has proper shadows.
- If not, edit the dome’s bottom faces:
- Go into Edit Mode, select just the bottom faces.
- Add a new material slot (+ icon in Material Properties).
- Assign the same material, then separate it so you can edit.
- In the new material, remove Emission and Mix Shader—leave just the Diffuse node.
- This lets shadows work properly without the “glowing floor” effect.
💡 Pro Tips
- Apply scale when resizing objects for correct material effects.
- Enable Node Wrangler add-on: makes mapping/skipping nodes much quicker!
- HDRI lighting adds ultra-realism, but a subtle area light can boost your results. Experiment with locations, power, and color.
🚗 Render & Share!
- Add your hero object (try a cool car model!).
- Adjust camera and lighting until it’s perfect.
- Render and let the realistic HDRI lighting make your scene pop! 🎉
Happy Blending and bright scenes! 🌟 If this helped, hit like or share with friends new to Blender!
Make your next project glow with beautiful, natural lighting in Blender! 🖥️🌈
Recommended Articles 📂🔥
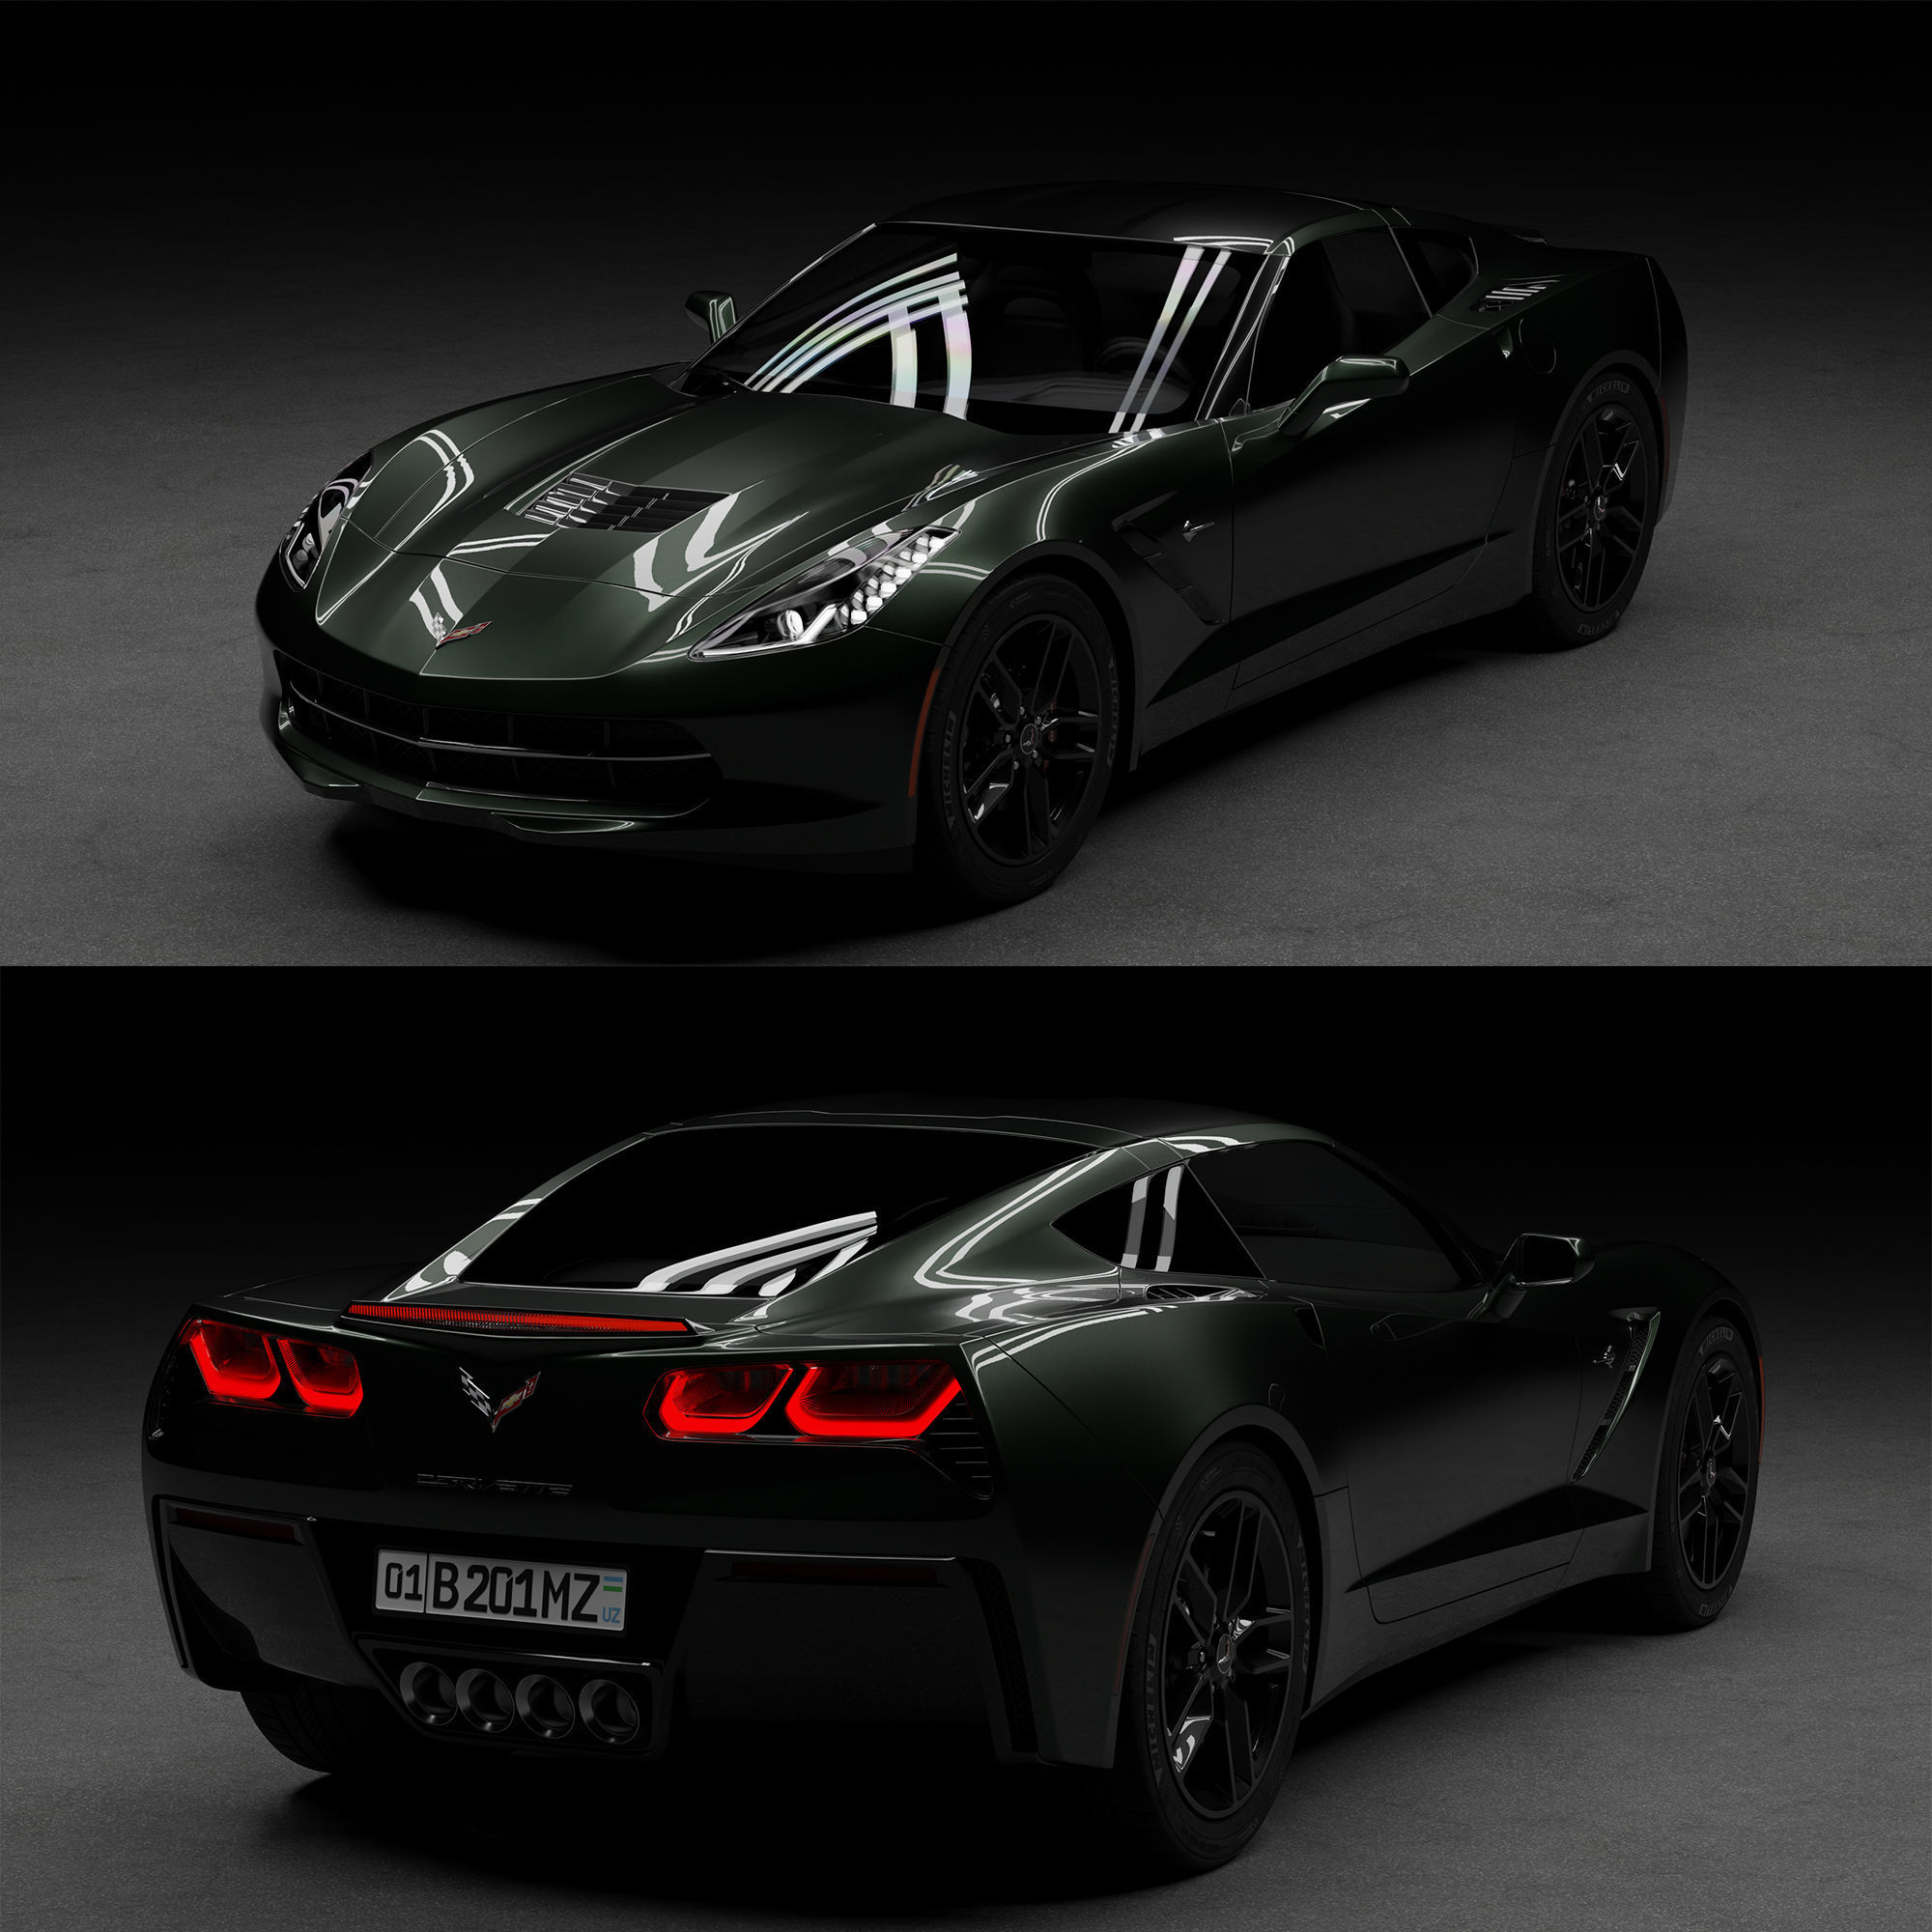

Make This Realistic Car Burnout in 10 Minutes – Blender
Learn how to create a realistic car burnout smoke simulation in Blender! 🚗💨

Create Interactive Math Examples with GeoGebra
How to Use GeoGebra to Create Interactive Math Examples GeoGebra is a powerful, free online tool for creating dynamic, interactive math examples and lessons. It supports visualizations in geometry, algebra, calculus, and statistics, making abstract concepts more concrete and engaging for students123. Below is a step-by-step guide to help you get started, including best practices for layout, interactivity, and classroom use. Step 1: Choose Your Math Concept Decide what topic you want to illustrate (e.g., triangle properties, function graphs, transformations, calculus concepts)3. Example: Visualizing the effect of changing coefficients in a quadratic function. Step 2: Open GeoGebra and Start a New File Go to GeoGebra.org and select the appropriate app (Geometry, Graphing Calculator, etc.). Click “New” to create a blank workspace13. Step 3: Add Mathematical Objects Points: Click the point tool and place points on the canvas. Lines/Segments/Rays: Use the line, segment, or ray tools to connect points. Shapes: Select polygon, circle, or other shape tools as needed. Functions: Enter equations directly (e.g., y = ax^2 + bx + c). Sliders: Insert sliders to make variables interactive (e.g., for coefficients or angle measures)45. Example: Create a slider for a in y = a(x-2)^2 + 1 to let students see how changing a affects the parabola.
Download Assets | Car Burnout in 10 Minutes – Blender
Learn how to create a realistic car burnout smoke simulation in Blender! 🚗💨

Essential Grammar in Use" (4th Edition by Raymond Murphy) 📙
Detailed Explanation and Structure of “Essential Grammar in Use” (4th Edition by Raymond Murphy) Overview “Essential Grammar in Use” (4th Edition) by Raymond Murphy is a comprehensive self-study reference and practice book for elementary learners of English. It is designed for students with some basic knowledge of English who wish to consolidate and expand their understanding of grammar. The book is structured to allow both self-study and classroom use, focusing strictly on grammar (not vocabulary, pronunciation, or other language skills).