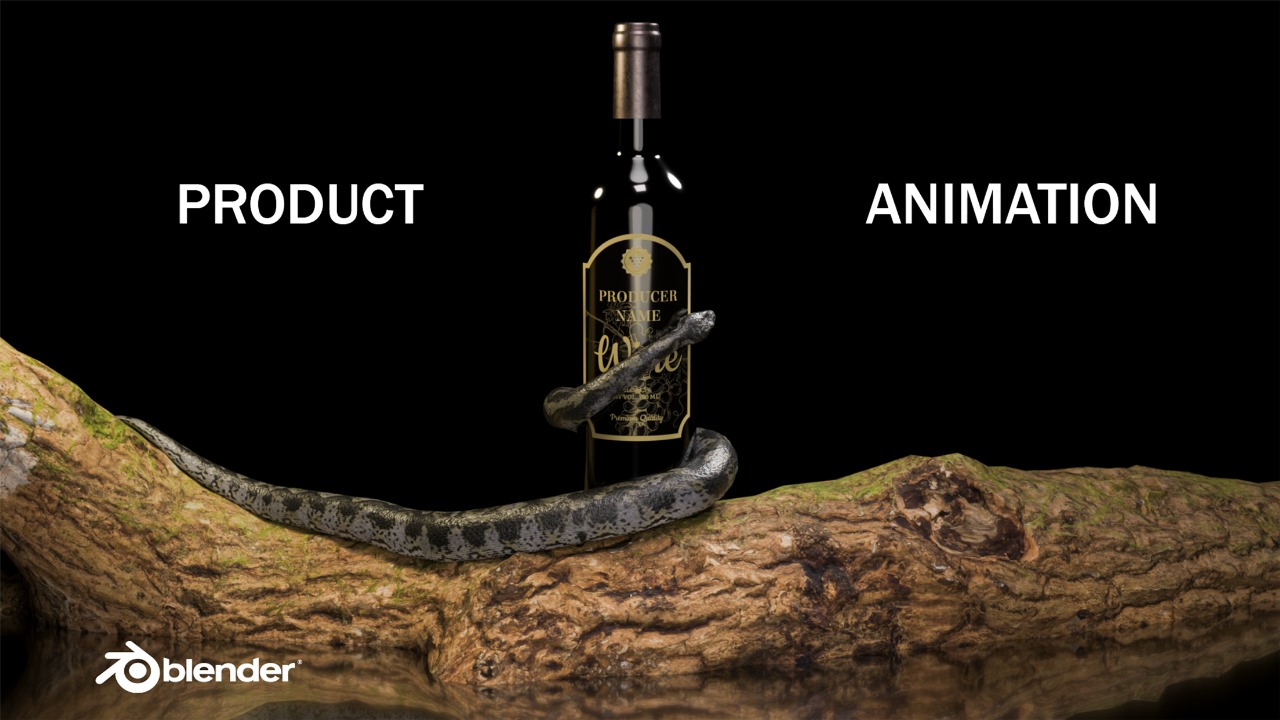
🐍 Blender Product Animation Tutorial | Snake Wrap Effect 🌟
Are you ready to create a stunning product animation in Blender? In today’s tutorial by Visual Gravity, discover how to make a realistic snake wrap dramatically around a bottle—perfect for product ads or creative VFX work! Let’s break it down step by step, making the process super easy for Blender beginners. 🎥✨

Here’s a blog-style summary (with clear step-by-step guidance and emojis) based on the “Blender Product Animation Tutorial | Snake Wrap Effect” by Visual Gravity1.
🐍 Blender Product Animation Tutorial: Snake Wrap Effect 🌟
Are you ready to create a stunning product animation in Blender? In today’s tutorial by Visual Gravity, discover how to make a realistic snake wrap dramatically around a bottle—perfect for product ads or creative VFX work! Let’s break it down step by step, making the process super easy for Blender beginners. 🎥✨
📂 Download Tutorial Assets
Click and wait for 20 seconds 👇
1️⃣ Get Assets & Prep the Scene 🧴🐍🪵
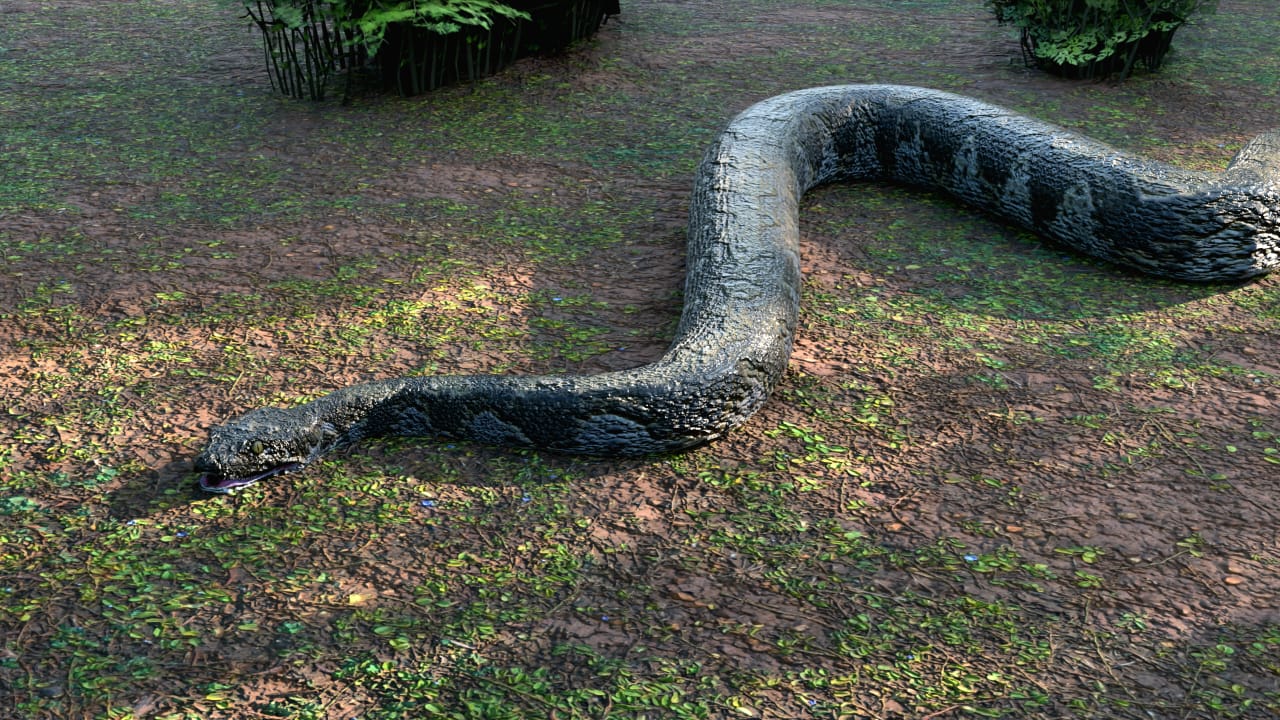
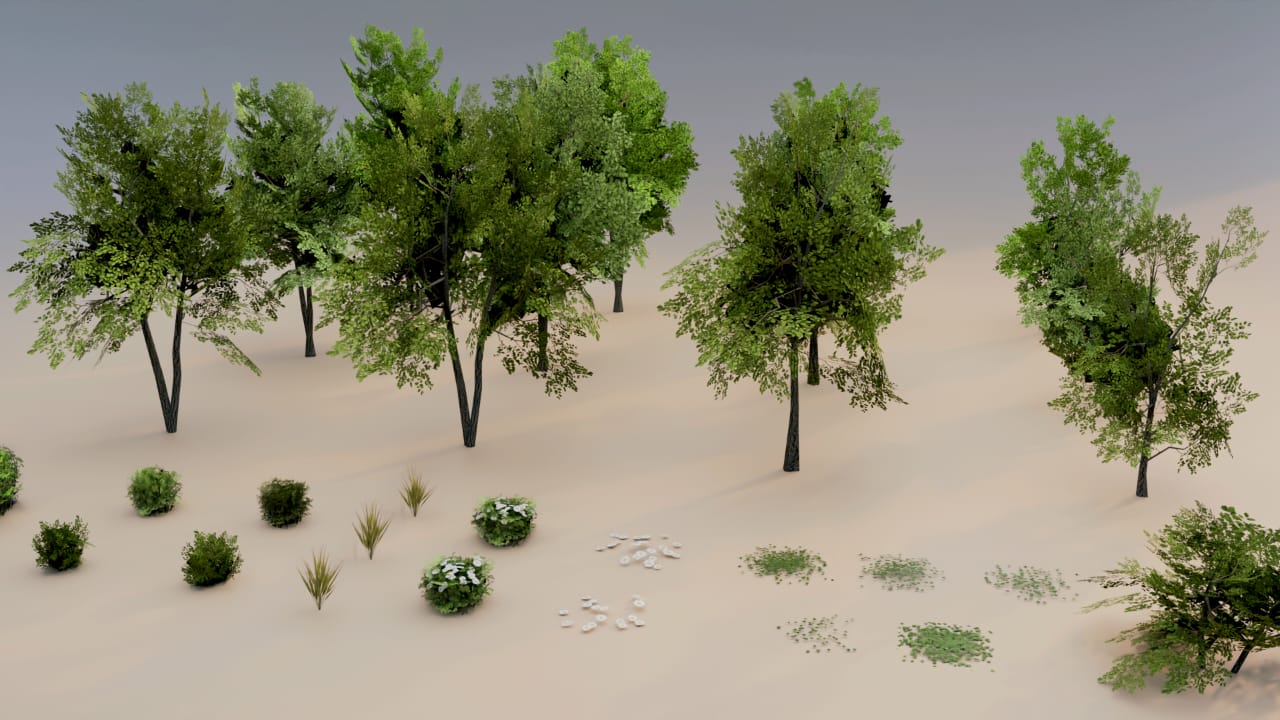
- Import your models: bottle, snake, and wooden base. These are the building blocks of your scene.1
- Arrange them: Place the bottle on the wooden base for a clean, commercial-ready look.1
- Pro tip: You can download assets from the video description to follow along easily!🔗
2️⃣ Snake Setup 🐍
- Select the snake and adjust its size so it looks natural next to the bottle.1
- Move it close to the bottle, where animation begins.1
- Always apply scale (Object > Apply > Scale) to avoid weird modifier glitches later on. This keeps everything looking right!✔️
3️⃣ Curve Magic ✨
- Add a curve object to the scene (Shift+A > Curve > Bezier, for example).1
- Apply the Curve Modifier to the snake via the modifiers panel.1
- In the modifier, select the new curve as the target.
- Now, move the snake on the X-axis and watch it follow the curve path—so cool!😮
4️⃣ Shaping the Snake’s Path 🎯
- Edit the curve: Go to Edit Mode with the curve selected.1
- Extrude and rotate points to make the curve wrap smoothly around the bottle and base for a natural, snaky movement.
- Take your time here: a smoother curve gives a more lifelike animation!🌀
- Twist control: Select a curve vertex, press
Ctrl+Tand rotate for fine control of the snake’s twist. Perfect for adding realism.1
5️⃣ Render Settings & Lighting 💡
- Render Engine: Switch from Eevee to Cycles for the best quality.1
- Device: Opt for GPU if available, for faster rendering.1
- Viewport samples: Lower to 20 while working to keep things responsive.1
- Denoising: Turn it on for clean previews.1
Lighting Tips
- 🎇 Area light: Add, scale up, and boost power for soft scene lighting.
- ✨ Point lights: Add one or two more to highlight the snake and bottle from various angles, adjusting power for balance.1
- 🌑 World lighting: Lower background strength for drama and focus on the product effect.1
6️⃣ Animating the Snake 🕺
- Select the snake object.
- Insert keyframes on its X position at the start and end points (timeline).1
- Move the timeline slider, change the X-value, and add another keyframe to make the snake smoothly wrap along your curve.
- Playback: Watch as the snake gracefully twirls around the bottle—satisfying!🐍🌀
7️⃣ Camera, Action, Render! 🎬
- Add a camera and frame the perfect shot for your animation.1
- Render! Your product animation is ready to shine!🏆
Final Thoughts 🎉
With these steps, you can create an eye-catching snake wrap effect in Blender that brings any product animation to life! Don’t forget to experiment with different curves, lighting, and camera angles for your unique style. Be sure to like, comment, and subscribe to Visual Gravity for more awesome Blender tutorials!1
Stay creative and keep blending! 🐍✨
Recommended Articles 📂🔥
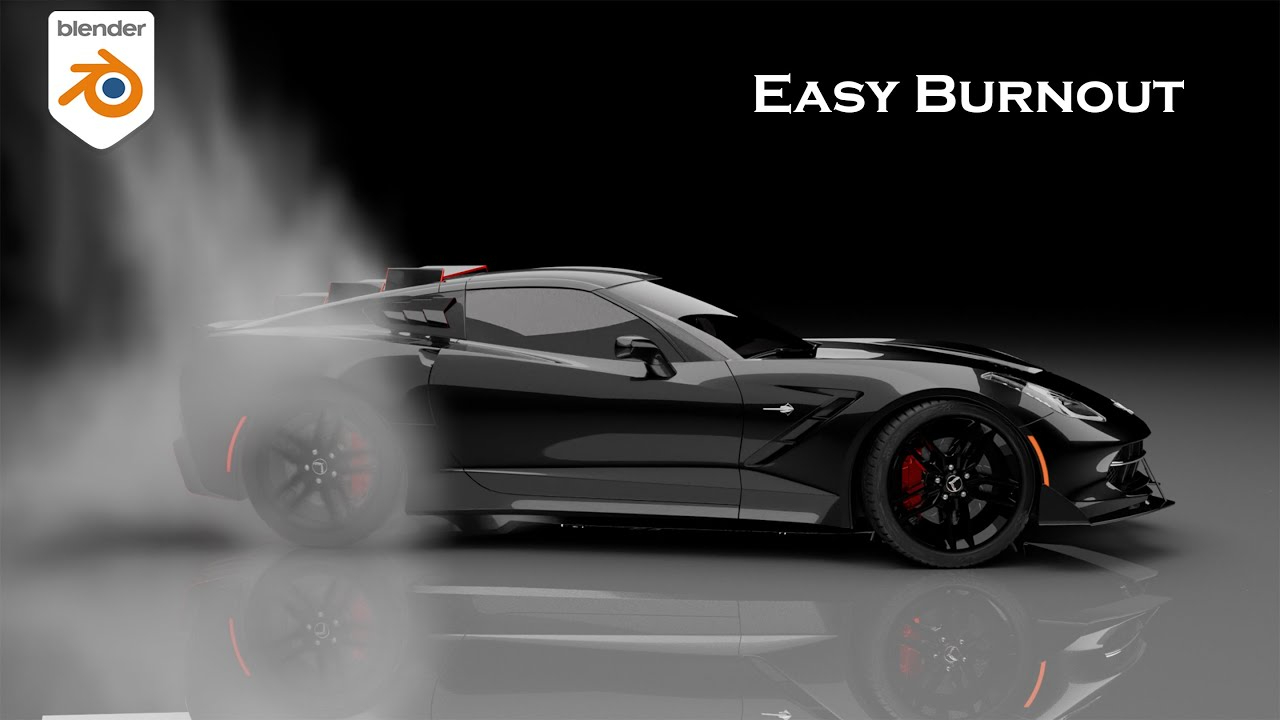
Make This Realistic Car Burnout in 10 Minutes – Blender
Learn how to create a realistic car burnout smoke simulation in Blender! 🚗💨
Download Assets | 🐍 Blender Product Animation Tutorial | Snake Wrap Effect 🌟
Are you ready to create a stunning product animation in Blender? In today’s tutorial by Visual Gravity, discover how to make a realistic snake wrap dramatically around a bottle—perfect for product ads or creative VFX work! Let’s break it down step by step, making the process super easy for Blender beginners. 🎥✨