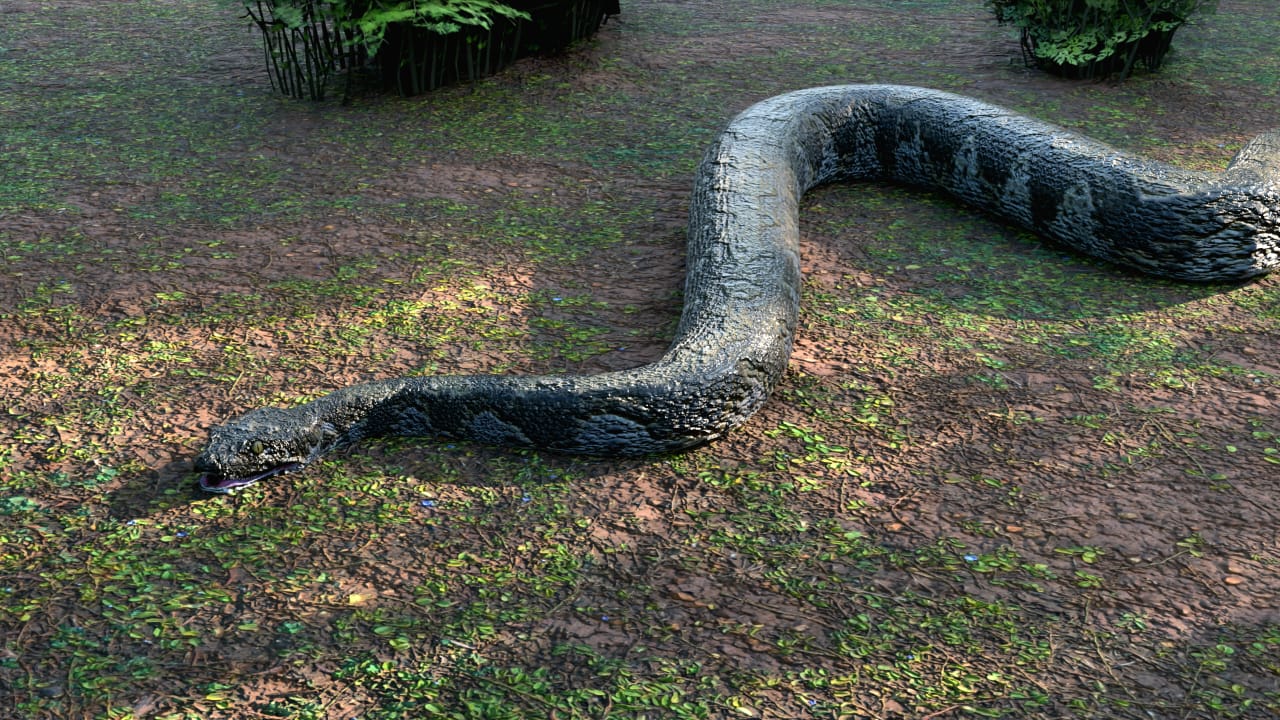
Snake 3D Model FBX Blender 🐍
Create and animate Snake Model with free assets.

Free 3D Model 🧊
Click and wait for 20 seconds 👇
How to Animate a Snake Along a Path in Blender 🐍✨
Ever wanted to make a snake slither smoothly in Blender? Whether you’re a beginner or just need a fast workflow, this guide (based on this excellent tutorial) makes creating captivating path animations a breeze! Let’s get started and bring your snake to life! 🌟
🗑️ Step 1: Clean Up the Scene
- Start Blender with your default scene.
- Delete the default cube (
Ato select all,Delete). It’s Blender Law!
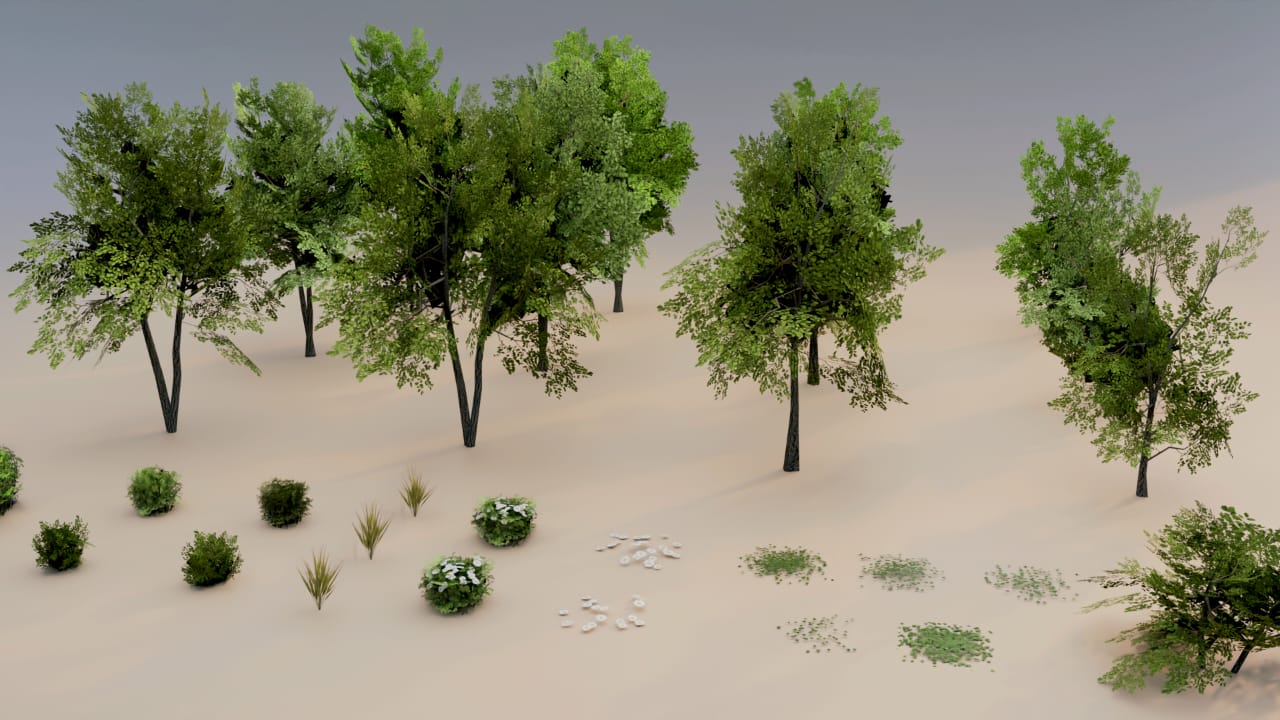
🟫 Step 2: Add a Ground Plane
- Press
Shift + A→ Mesh → Plane. - Scale up the plane (
S, drag or enter a number) for your ground.
🐍 Step 3: Import Your Snake Model
- Press
F4(or File → Import) to bring in your 3D snake model. - Not got a snake? Grab a free one via the tutorial’s asset link!
- Scale down your snake model to fit the scene (
S, drag).
📝 Step 4: Create the Path with a Curve
- Add a Curve:
Shift + A→ Curve → (Pick your favorite, like Bezier or Path)
- Hide the plane & snake for clarity.
- Edit the curve:
- Select the curve, press
Tab(Edit Mode). - Delete default points (select,
Delete). - Use the pencil tool 🖊️ to draw your own slithering path in top view (
numpad 7). - Add twists and turns for that “snake vibe”!
- Select the curve, press
🧩 Step 5: Attach the Snake to the Path
- Unhide your snake.
- Select snake model, go to the modifiers tab.
- Add a Curve Modifier.
- Set the “Curve Object” to your drawn curve.
- Troubleshooting:
If the snake looks weird or doesn’t follow the curve:
- Adjust the “Deform Axis” (try X, Y, Z) until it aligns.
- Move the snake down slightly if floating above the grid.
🎛️ Step 6: Smooth Out Movements
- Curve too jagged?
- Select the curve, go to Curve Data Properties.
- Increase “Resolution” for smoother turns.
- In Edit Mode, select sharp vertices and drag the handles (
G) to smooth bends. - Extra smoothness:
- Right-click the curve, choose “Subdivide” for more control points.
🎞️ Step 7: Animate the Snake
- Select the snake, go to Object Properties.
- Insert a keyframe for Location (X-axis).
- Move a few frames forward in timeline, move snake along X-axis, and insert another keyframe.
- Adjust animation speed:
- If too fast, drag the second keyframe farther on timeline.
🖼️ Step 8: Final Touches
- Scale your ground plane for the best composition.
- Lock Y and Z axis for the snake (avoid weird sliding).
- Scrub through the timeline: your snake should now slither smoothly along the path!
- Fix any last sharp corners in the curve for buttery motion.
🪄 That’s a Wrap! (Part 1)
Your snake is now animated along a custom path—no rigging nightmares, just smooth, easy motion! In Part 2 (watch on YouTube), you’ll texture, light, and render your masterpiece.
💡 Tip: You can use this workflow for any object to follow curves—great for trains, cars, creatures, and more!
If you found this helpful, don’t forget to like and subscribe to the creator for more awesome Blender tutorials! Happy animating! 🥳🎬
Recommended Articles 📂🔥


Make This Realistic Car Burnout in 10 Minutes – Blender
Learn how to create a realistic car burnout smoke simulation in Blender! 🚗💨

Create Interactive Math Examples with GeoGebra
How to Use GeoGebra to Create Interactive Math Examples GeoGebra is a powerful, free online tool for creating dynamic, interactive math examples and lessons. It supports visualizations in geometry, algebra, calculus, and statistics, making abstract concepts more concrete and engaging for students123. Below is a step-by-step guide to help you get started, including best practices for layout, interactivity, and classroom use. Step 1: Choose Your Math Concept Decide what topic you want to illustrate (e.g., triangle properties, function graphs, transformations, calculus concepts)3. Example: Visualizing the effect of changing coefficients in a quadratic function. Step 2: Open GeoGebra and Start a New File Go to GeoGebra.org and select the appropriate app (Geometry, Graphing Calculator, etc.). Click “New” to create a blank workspace13. Step 3: Add Mathematical Objects Points: Click the point tool and place points on the canvas. Lines/Segments/Rays: Use the line, segment, or ray tools to connect points. Shapes: Select polygon, circle, or other shape tools as needed. Functions: Enter equations directly (e.g., y = ax^2 + bx + c). Sliders: Insert sliders to make variables interactive (e.g., for coefficients or angle measures)45. Example: Create a slider for a in y = a(x-2)^2 + 1 to let students see how changing a affects the parabola.
Download Assets | Car Burnout in 10 Minutes – Blender
Learn how to create a realistic car burnout smoke simulation in Blender! 🚗💨

Essential Grammar in Use" (4th Edition by Raymond Murphy) 📙
Detailed Explanation and Structure of “Essential Grammar in Use” (4th Edition by Raymond Murphy) Overview “Essential Grammar in Use” (4th Edition) by Raymond Murphy is a comprehensive self-study reference and practice book for elementary learners of English. It is designed for students with some basic knowledge of English who wish to consolidate and expand their understanding of grammar. The book is structured to allow both self-study and classroom use, focusing strictly on grammar (not vocabulary, pronunciation, or other language skills).